 樊笼
樊笼



nginx配置记录
206 字
1 分钟
nginx配置记录
启用https
1.购买免费证书
登录阿里云 -> 控制台 -> 安全(云盾) -> CA证书服务 -> 购买证书
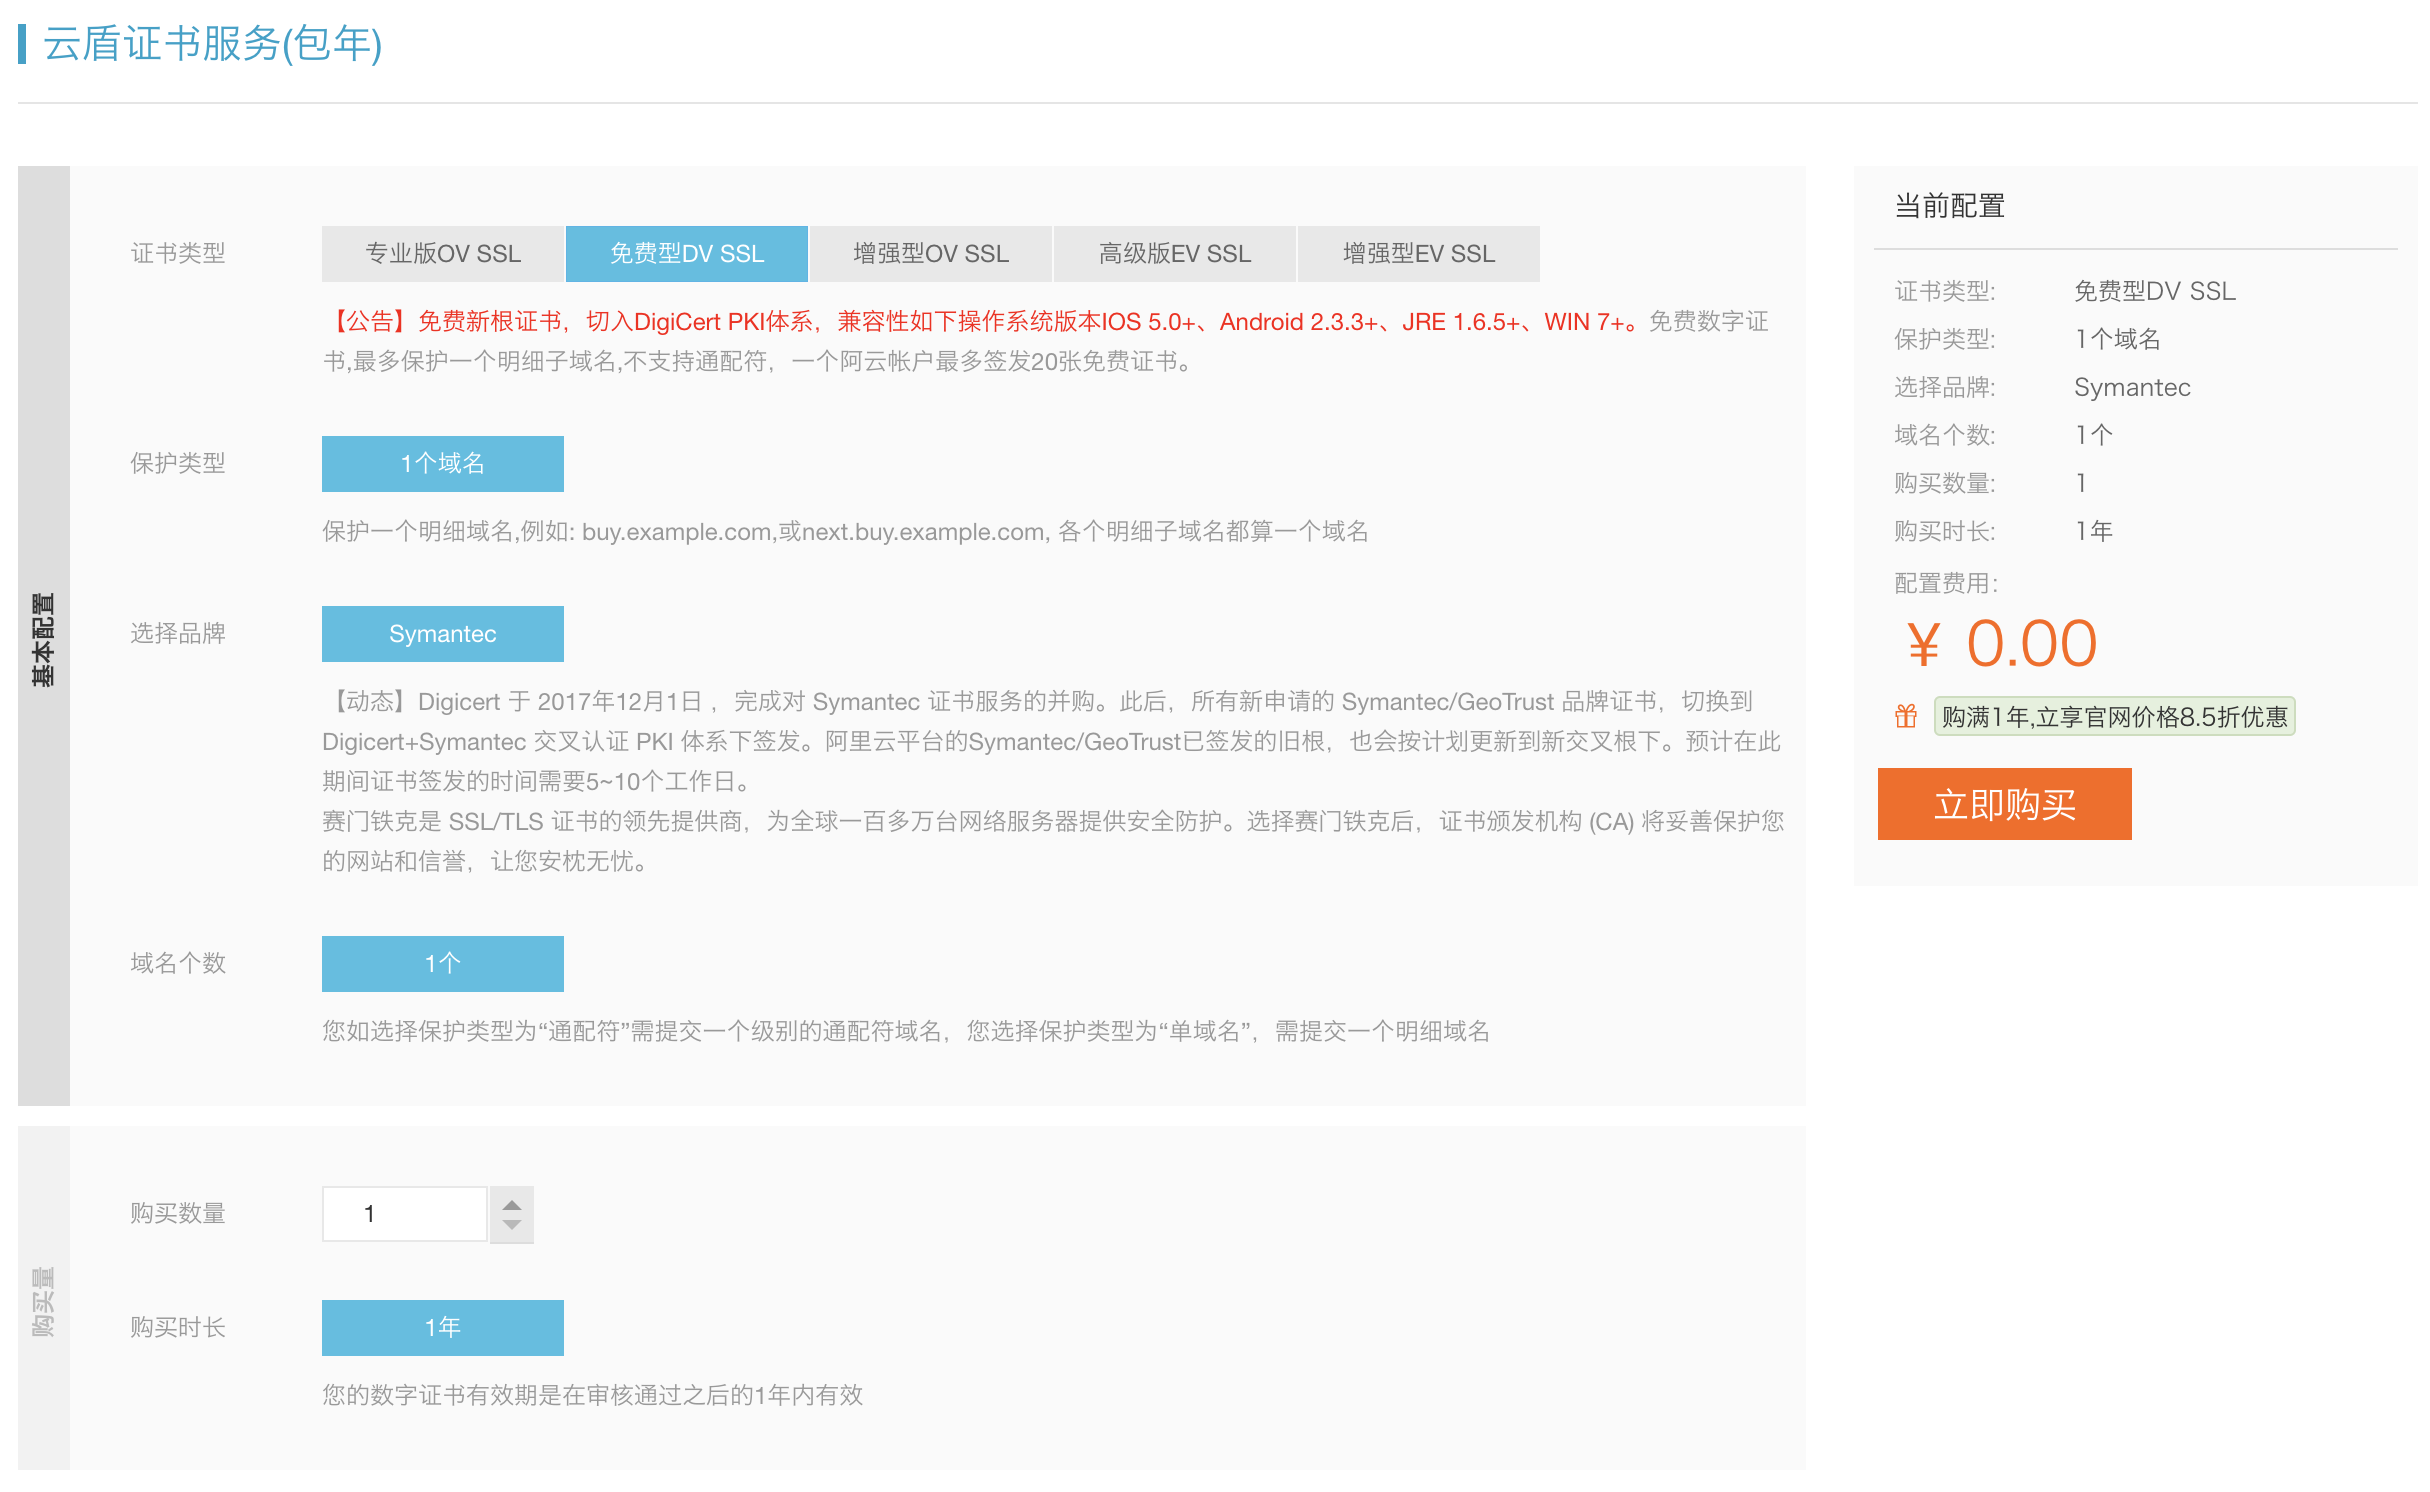
2.补全证书信息
点击补全,绑定域名
3.下载并配置
选择下载 证书for nginx
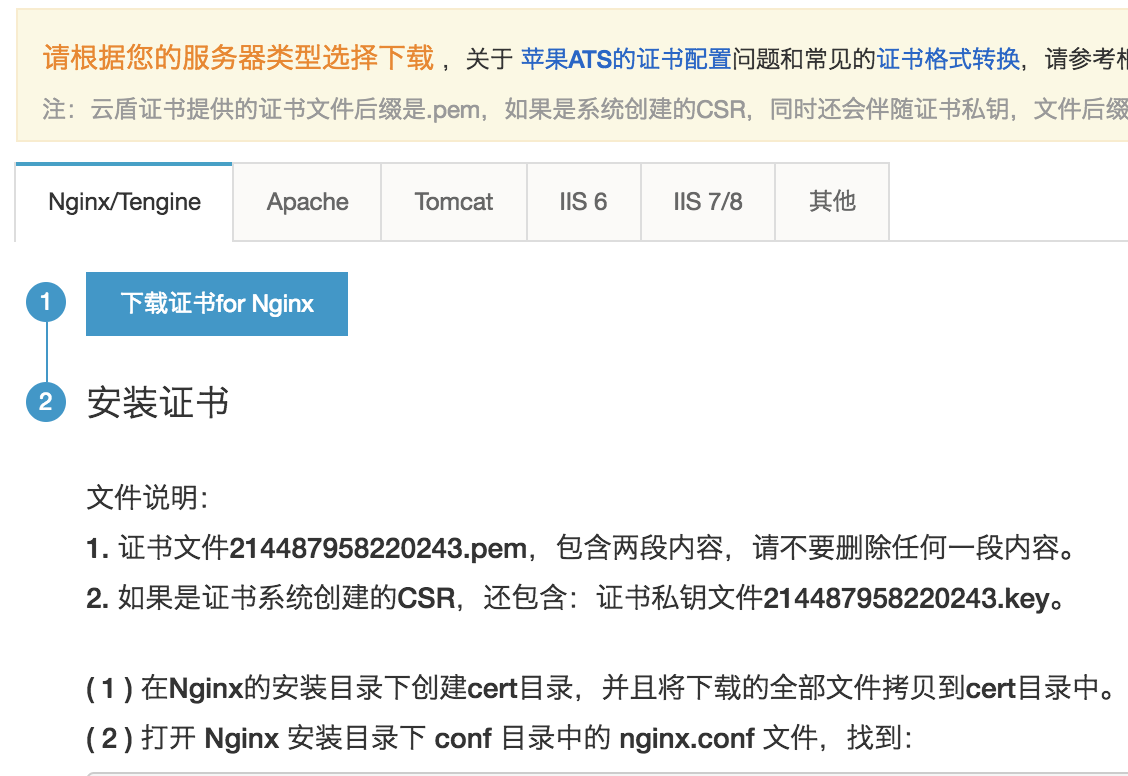
上面这个页面有相关的配置信息,下面简单介绍:
① 将下载文件中的 *.pem、*.key, 拷贝到 nginx 目录下 的 cert , 当然也可以是其他目录
② 修改 nginx.conf
server { listen 443 ssl; server_name xiangzhangshugongyi.com;
ssl_certificate cert/214487958220243.pem; ssl_certificate_key cert/214487958220243.key;
ssl_session_cache shared:SSL:1m; ssl_session_timeout 5m;
ssl_ciphers HIGH:!aNULL:!MD5; ssl_prefer_server_ciphers on;
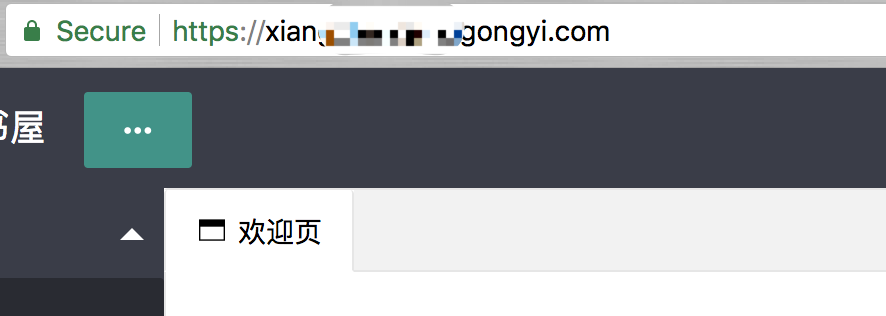
location / { proxy_set_header X-Forwarded-For $proxy_add_x_forwarded_for; proxy_set_header Host $http_host; proxy_set_header X-Forwarded-Proto https; proxy_redirect off; proxy_connect_timeout 240; proxy_send_timeout 240; proxy_read_timeout 240; ## note, there is not SSL here! plain HTTP is used proxy_pass http://127.0.0.1:8080; } }③ 重启 nginx,通过 证书绑定域名进行 https 访问到 服务器跑在 8080 的服务
支持与分享
如果这篇文章对你有帮助,欢迎分享给更多人或打赏支持!
相关文章智能推荐
1
Apache Shiro 教程
程技2026-06-26
2
Veitool V2.3.5 源码深度解读
程技2026-06-20
3
勾股OA 源码解读 — ThinkPHP 8 + Layui 企业OA系统
程技2026-06-20
4
Sa-Token PHP 使用手册
程技2026-06-18
5
ThinkPHP8微服务架构实战:构建高可用API网关系统 | PHP微服务教程
程技2026-06-18
随机文章随机推荐
评论区
欢迎来到我的博客!这是一则示例公告。
音乐
暂未播放
0:000:00
文章
779
分类
8
标签
138
总字数
3,267,679
运行时长
0 天
最后活动
0 天前
站点域名fanrich.eu.org
Fireflyv6.13.5
Astrov7.0.2
Nodev22.16.0
pnpmunknown
构建时间2026年7月9日 17:46:41
系统信息Linux / x86_64